I wasn't really feeling happy yesterday... I was so disheartened at somebody's insensitiveness. And what made it worse was that this person was somebody I never thought could do something hurtful to me. So, in my attempt to stay away from social networks, I finally sat down and got around to doing the project I've been targeting for weeks - a DIY lightbox!
I love taking pictures of everything. May it be food, make-up, trinkets, landscapes, dogs - I'd click and click till I get the perfect shot! Having the perfect shot meant good composition and most importantly, getting the best light that would be right for whatever theme you want to achieve with your shot!
Madalas, i would always remember to take shots of my things kapag gabi na. I would use my dresser light and the light from the Lightbox Pro app sa iPad to serve as my light sources. E as photo enthusiasts know, the lack of light makes your subjects more dramatic - kaso in this case, pinapakita mo nga sila sa tao. Bakit mo sila itatago sa dilim? :p
I came across this nifty idea of building your own lightbox from Jaja of Beauty Colada, which she uses to take product shots. Malay ko bang meron palang ganon?! Haha! I'm used to taking outside photography na buong mundo ay mailaw, so this discovery is truly a gem!
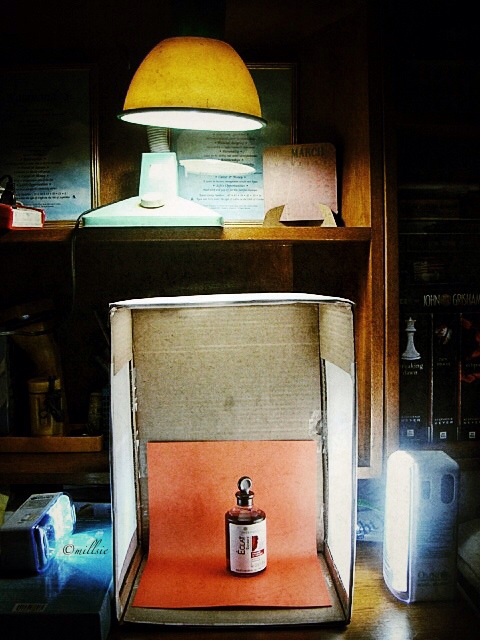
I followed her instructions, and searched on the 'net to find different samples for me to follow as well. And now... presenting my very own lightbox!
[And what am I featuring here? That's for my next post! ;)]
I bought a foldable box from Bestseller/National Bookstore (Php 99.50), a good, sturdy cutter (nawawala ang mga gamit ko pag kelangan ko sila. bow.), multi-colored construction paper (for backgrounds) and parchment paper. I got parchment paper kasi i wanted soft lighting for my products, and parchment paper gives out that opaque glow once light passes through it.
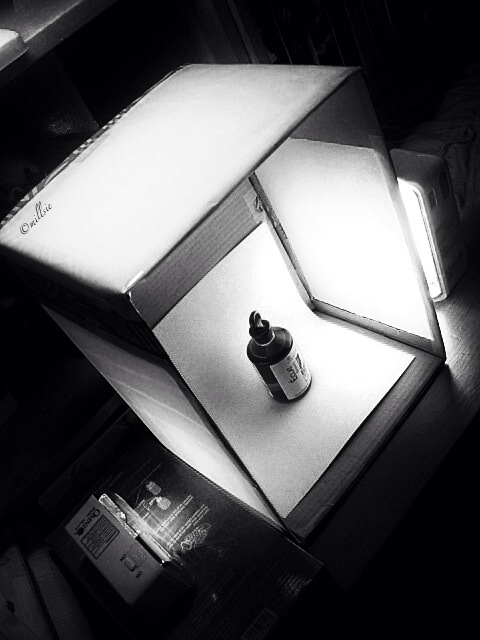
On cutting out 'windows' from both sides of your chosen box, you'd have to wing the measurements- meaning, take into account the kind of box you have and how tall/big your light sources will be. As you can see above, medyo 1 inch lang ata yung measurement ko from the bottom part kasi my light sources aren't that tall enough to provide light at a higher angle. I also sliced a small slit on the top window (not seen), so that pwede mong ipitin yun mga long background papers/cloth that you'll be using for your shot. Also, make sure that your background paper just 'slides' down the box (look at the orange paper behind the bottle, para lang shang dudulas pababa)... else, creases or angles will show up in your picture.
So there you have it! Create your own lightbox - it's good therapy to do something crafty during hermitanya moments. Hehe. Enjoy, be creative!


0 scrawlings:
Post a Comment